Removing Red Wine Stains from Silk

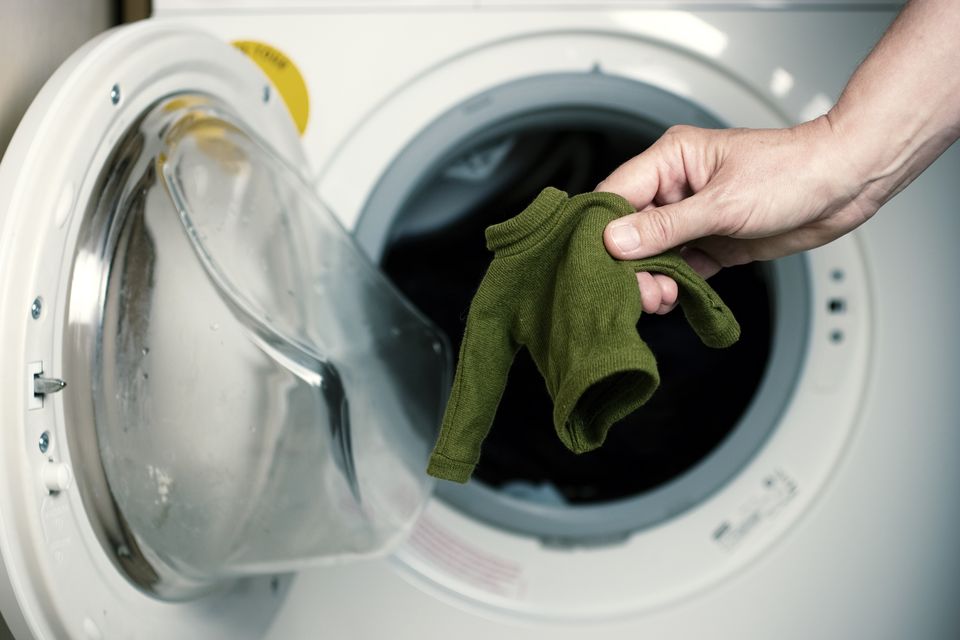
Red wine spilled on silk is one of the hardest stains to remove. If you act quickly, you should be able to effectively remove the stain before it sets.

Note: Silk is a delicate fabric, always do a test patch in a discreet area on the fabric before using it on the stain.

Step 1 – Be Quick

If you spill red wine on your silk blouse, tie, or upholstery, the faster you work on it, the more successful you’ll be at removing it. Allowing it to dry will make it almost impossible to get out. If you’re in a restaurant, or otherwise away from home, and unable to work on the stain, blot it with a napkin or paper towel to get as much of the wine out as you can. Do not rub – it will only grind the stain into the fabric and make it harder to remove.

Step 2 – Try Homemade Remedies First

Homemade remedies don’t contain a lot of harsh chemicals that can damage delicate fabrics like silk, so it’s always best to give them a try before moving on to something stronger.

Try mixing a solution of one half hydrogen peroxide and one half cold water and letting the stained area soak in it overnight. If it doesn’t come out the first time, pour out the mixture, mix up a fresh batch, and soak just the stained area again. This may take several attempts and you’ll need to blot the area in between each application. If it’s a bad stain, use full strength peroxide. Don’t allow the stained garments to dry until the red wine is completely gone.

Again….do a test patch in a discreet area on the fabric before using it on the stain.

Another effective solution is mixing Dawn dishwashing liquid and warm water. Soak the affected silk, and then rinse just the stained area with cold water. You may need to soak it a few times. I’ve read some have tried vinegar or rubbing alcohol mixed with Dawn and been successful.

If a slight stain remains, dab rubbing alcohol onto it; then, put a cloth soaked in alcohol on top of the stain to keep it wet and let it sit. Blot the moisture away to remove the wine. Repeat if necessary.

Step 3 – Try Commercial Cleaners

There are several good commercial cleaners on the market for removing red wine as well.

Spray and Wash works well on red wine stains, while remaining gentle enough for silk. Spray it on, keep the area wet and blot away as much of the wine as possible.

Gonzo “Wine Away” is a very popular one that is available at most hardware stores. Follow the directions on the package and use in a well-ventilated area.

Again….I can’t stress enough….do a test patch in a discreet area on the fabric before using it on the stain.

Erado-Sol, a commercial cleaner, is the best over the counter cleaner and will remove 100 percent of the stain. It may be difficult to find, so I recommend looking online.


Read More “6 Ways to Cut Down Energy Costs In The Summer”

Removing Makeup Stains from Clothing

Removing cosmetics from clothing can be a chore. Knowing the most efficient methods for removing makeup stains can save you a lot of time, money, and frustration.

First of all, know the type of  makeup you’re dealing with: non-oily or oily. Non-oily are powder products like eye shadows and blushes. Oily types are lipsticks, cream blushes, and other liquid makeup. Each type requires a specific method of removal. So…..determine if your makeup stain is non-oily or oily.

Second, you should attempt to remove the stain as quickly as possible to avoid letting them set into your garments. Fresh stains come out a lot easier than when they’re left.

Lipstick

Lipstick is oil-based, and should be treated with a pre-wash stain remover before attempting to wash it out. Never rub the stain, as it only causes the lipstick to go deeper into the fabric. We recommend blotting the stain with a clean white cloth, and rinse the stained material in warm water (you want to use a white cloth to avoid any fabric dyes from transferring to the stain).  If the stain persist, apply a good liquid household detergent to the stain, but don’t rub, blot.

Rubbing alcohol will also remove lipstick stains. Again, using a white cloth, dab the stain with a small amount of isopropyl alcohol, then add a small amount of household detergent and wash the garment per the label instructions.

Liquid Makeup

Removing liquid makeup stains can be a battle. Try using Dawn dish soap as a removal agent. Liquid makeup is oil based, and we all know Dawn helps cut through grease.  Then add a small amount of household detergent and wash the garment per the label instructions.

Powder Blush or Eye Shadows

The first thing when you have a powder spill is to try and blow it off the garment. Sometimes that will be enough to get most of it off before laundering per your normal routine. Once you’ve done that, remaining makeup can be wiped off using a damp washcloth and a tiny amount of liquid soap.

Tip:

Be sure to read the care label on any garments before attempting to remove the stain. You may find the garment is “dry clean only” or discover other specifications that will determine your choice of stain removal.

Read More “6 Ways to Cut Down Energy Costs In The Summer”

Avoid Overstuffing the Washing Machine

We have been asked from time to time: “How do you know when the washing machine is full enough?” and “Do you stuff it full, or just put a few things in at a time?”. These are good questions, and vary from machine to machine.

Overstuffing is NEVER a good idea.  An overstuffed load will not come clean!

Clothes need a certain amount of room in the washer to move around, and a sufficient amount of water and detergent is needed.  The extra room allows them to move against each other, and that abrasion helps get them clean.  If the clothes aren’t subjected to enough water the dirt, grime, sweat and detergent won’t be rinsed from the fabric. And that means dingy, still dirty clothes. Gross!

Overstuffing can cause clothes to wrinkle since there is not enough room in the drum of the washer for them to move around.

When you move your clothes from the washer to the dryer and you notice every item is wrinkled, it’s a sure sign you’ve overloaded the machine.

Overloading can cause your clothes to pill more readily.  When overcrowded, the clothes rub against each other too much and this abrasion causes them to look older faster and to pill. Pilling is a surface defect caused by wear, and causes little fiber balls to form.

Guide to Load Sizing

Keep in mind that these are loosely loaded clothes in the washer.  If you have to push your clothes down, or in for front load washers, to make room for more in the washer…then you’ve put way too many in there.

Small Load – fills about 1/3 of your machine.

Medium Load – fills about 1/2 of your machine.

Large Load – fills about 3/4 of your machine.

Read More “6 Ways to Cut Down Energy Costs In The Summer”

How to Unshrink a Sweater

Fall is just around the corner, so it’s time to start getting those sweaters out and ready to wear.  And then…..Oops!  You realize the last time you washed it, you accidentally shrunk your favorite sweater in the dryer!  Thankfully, it is possible to unshrink that sweater that is now small enough for a small child to wear.

  1. Soak the item in warm water and a few squirts of baby shampoo.

Start the resizing process by soaking the shrunken item in a sink or bucket full of warm water and about two tablespoons of baby shampoo.

Gently work the shampoo into the fibers by hand, taking care not to stretch any of the fibers during the softening-up process.

About 15 minutes should allow enough time for the shampoo to relax the garment’s fibers enough so that you may begin the letting-out process.

  1. Remove sweater from the soapy water and rinse.

Rinse in cool water to remove the baby shampoo. Gently press or squeeze the garment to remove any remaining moisture. Don’t wring – this can damage and even break the fibers you’re trying to stretch.

  1. Roll the sweater in a towel to remove remaining moisture.

Roll in a clean, dry towel to remove any lingering moisture. It’s important that the clothing’s fibers contain as little moisture as possible when you begin the resizing process.

  1. Gently stretch and pin the sweater to a cork board.

Stretching the neck, arms, and sides as taut as possible without damaging the fibers. Let it be for at least an hour.

  1. Re-stretch and re-pin every couple hours.

Re-stretch and re-pin your garment every few hours. It will take several stretching and re-pinning sessions to unshrink the garment, and ease it back to its original size.

If you adore that sweater, you’ll be glad you took the time!


Read More “6 Ways to Cut Down Energy Costs In The Summer”
bottom Gears Mobile bottom Gears