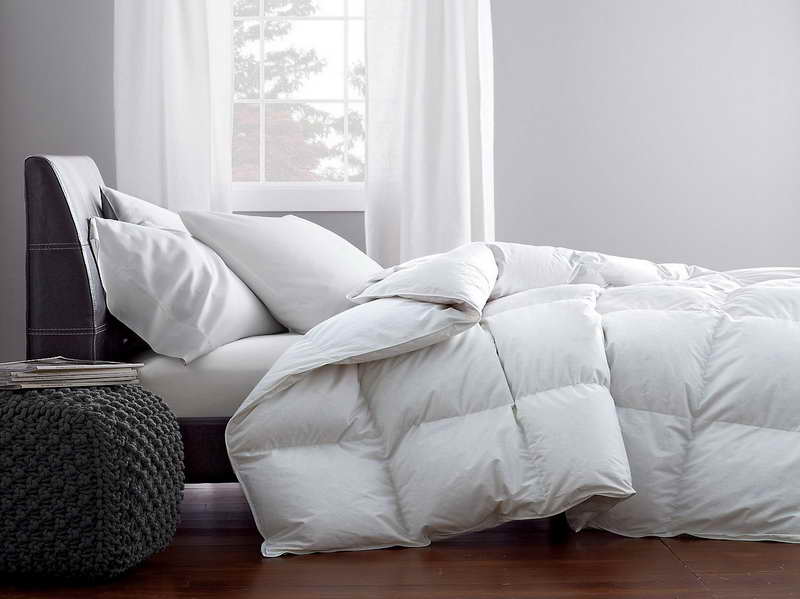
Washing Down Filled Comforters

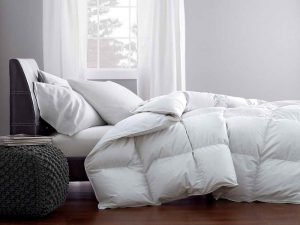
Manufacturers usually offer cleaning suggestions for their down items. Most recommend cleaning down items infrequently — typically every three to five years, but life happens and sometimes that’s just not sanitary. Try following these steps to get the best results when washing and drying down comforters and pillows.

Washing

Step 1

Check the comforter or pillow for worn stitching or holes, and repair with small fine stitches to avoid losing any down stuffing during the laundering process.  Most comforters are too big for your home washer. Instead, use the large capacity front-loading washing machines at your local Laundromat…specifically Sapulpa Laundry.

Step 2

Before laundering a down comforter or pillow, check for stains. Color-safe bleach can be used on stains caused by water or food, but blood or urine are best treated with an enzymatic cleaner such as Nature’s Miracle or Pure Green Kleen.  Pull the cover of the comforter or pillow away from the down while spot-treating stains to keep the cleaning product from damaging the down. Then launder.

Step 3

Put a sock stuffed with two tennis balls (secured with a knot) in the machine with the comforter or pillows. This addition will help keep the down from bunching and will agitate soil from the items being washed.

Step 4

Use a gentle or delicate-cycle setting and a minimal amount of mild laundry detergent. Choose lukewarm water; hot or cold water can be hard on the down. Use an extra rinse cycle to ensure all soap is rinsed from the down.

NOTE: Down bears a distinctive odor when wet. The odor will dissipate when the down dries.

Drying

Step 1

After the wash is complete, load your comforter or pillows into a dryer large enough to give the items plenty of room to fluff. Add a pair of clean tennis balls to help fluff the down and keep it evenly distributed.

Step 2

Run the dryer on air fluff or the lowest temperature possible. Stop the dryer periodically and break up any lumps that are forming in the comforter or pillow. Also ensure that the down is not getting too warm as extreme heat can scorch the down. Expect the drying process to take three to four hours.

Step 3

Make sure the down item is dry before taking it out of the dryer to avoid the formation of mildew. If the item is still slightly damp, hang it out on a clothesline or lay flat on a table with a fan blowing on it to get the down as dry as possible. Once you bring the comforter or pillow inside, leave the item out for another month to ensure all moisture has evaporated before storing.

Read More “6 Ways to Cut Down Energy Costs In The Summer”

Removing Stubborn Creases

Do your clothes develop stubborn creases that seem impossible to iron out? Fortunately there are ways to get rid of unwanted, stubborn creases and it’s not too hard to do it.

We always start by washing the garment first. This should loosen it up a bit. After you wash, then begin the ironing.  Spray starch heavily on the crease, then move the iron slowly, continuing to press the iron into the crease. In most cases this should do the trick for getting out that stubborn crease.

If washing and ironing don’t work however, you do have a couple of options. You can remove the crease mark by rubbing a bar of soap along the line on the inside before pressing. Also you can pursue the vinegar method. Combine equal parts of vinegar and water and spray as you press out the crease. This will probably make your clothes smell a little funny so you’ll probably want to wash the garment again before wearing. (The extra wash should also help with getting that crease out).

Another tip you can try is taking a mixture of two parts hair conditioner and one part water and rubbing that on the crease. With both of the latter techniques you will want to test it in an inconspicuous part of the item or on a completely different item all together. Make sure it’s conducive to your garments before trying.

Creases don’t have to be the end-all-be-all to your clothes. You can beat those creases if you follow these simple pieces of advice.


Read More “6 Ways to Cut Down Energy Costs In The Summer”

Creative Ways to Fold Towels

Whether you like the spa look of rolled towels, or just neat stacks, these ideas are sure to please.

On a Hook

One of the easiest ways to display towels is to place them on a hook like a locker room.  The nice thing about this option is that anyone can hang a towel on a hook, including children so you don’t have to worry about perfectly folded towels.

Stacked

Folded and stacked towels are a great option. You can fold towels in half or thirds for your stacks and place on an open shelf for easy access.

Rolled

Roll your towels and place on a shelf if you like a spa look.  This is a great space saver and looks very decorative.  It’s super easy to roll your towels, so this is a great option for saving space while looking great.

Layer

Layer your towels for easy use.  This option is pretty self explanatory.  Simply fold your towels neatly and layer on top of each other over towel rack.  I like to layer a bath towel, hand towel and wash cloth.

Group with a Ribbon

Group your towels with a ribbon for a chic look.  It’s also a great way of saying, “hands off” if you don’t want someone to use a particular set of towels.

Hang on Decorative Holders

Decorative holders are super great because they can be useful as well as decorative. You can even find towel holders that have a built in shelf.

Fold in Fun Shapes

Fold your towels into fun shapes like a resort.  You can find lots of towel folding tutorials on-line from pretty shapes like fans, baskets and animals.

Decorative Decor

Add a touch of decorative decor to your towels by embellishing with elements from your decor.  This bathroom has a nautical theme so the starfish is the perfect piece of decorative decor.  It’s easy to add the shell to a simple stack of towels.

Read More “6 Ways to Cut Down Energy Costs In The Summer”
bottom Gears Mobile bottom Gears