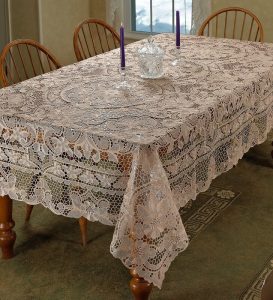
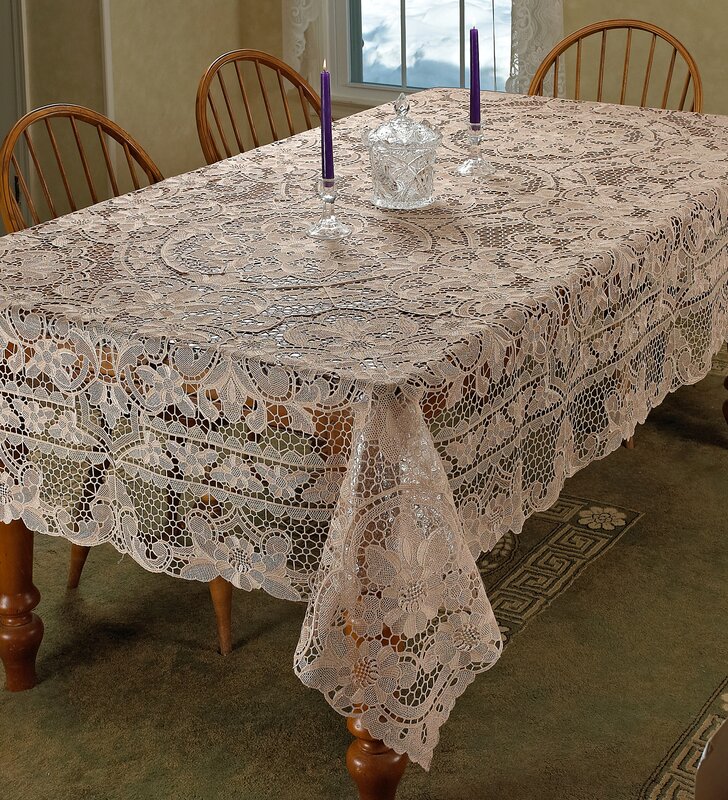
Some of us are fortunate enough to inherit a little piece of our family history. If we’re lucky, these items will be in good condition, but that’s not always the case. Some items may have dry rot, mouse nibbles and/or rust. You won’t be able to save these things if the fibers are already compromised. If you tug on two sides of a garment and it comes apart without much effort, your item has dry rot and has reached the end. Sometimes, you just have to let go, there’s no way to save it.
To start, here are a few items you should have on hand:
White Vinegar
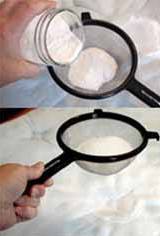
Rust Remover
Restoration – (OxiClean is similar, more widely available and slightly less expensive than Restoration, but it doesn’t work as well.)
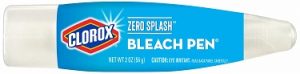
Bleach pen
Laundry detergent (simple soap, nothing added)
***PLEASE NOTE THAT I DO NOT GUARANTEE ANY METHOD THAT YOU CHOOSE TO TRY. IT ALL DEPENDS ON THE CONDITION OF THE GARMENT.***

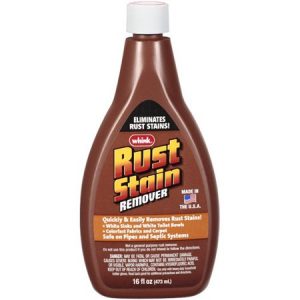
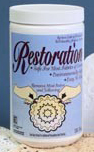
“Restoration” and white vinegar are preferred products. Read the label and use common sense. You may only need to use “Restoration” for your initial laundering to remove storage dirt. You can also use “Restoration” in the washing machine with your laundry, too. It removes odors, age spots, storage stains, label stains and often, some rust. If it doesn’t remove the rust, try using “Whink Rust & Stain Remover.” Be aware that if rust has already eaten away the fibers that you may be left with a hole where the rust had been after cleaning with rust/stain remover.
Use “Restoration” first and, if stains remain after two or three sessions with it, put the dampened piece outside in bright sunshine for a day. This is often a magical solution. Horrible stains will usually disappear within an hour. This is the least invasive method. It is effective and it’s free – it also sanitizes. However, sunlight does bleach and weaken fibers over time. Sunlight is destructive so I am not suggesting that you constantly subject your fragile items to sunlight. This method, used once or twice on a piece that would otherwise need to be thrown away, can be very helpful. If the stains persist, you may need to resort to using bleach with laundry detergent. I like to have a bleach pen on hand because it allows me to pinpoint where I apply the bleach. After using bleach, always rinse with white vinegar, then rinse again with clear water.
Step 1. Use hot water with “Restoration” until the water turns clear. (approx. 4- 6 hours or overnight) If the water is not clear after overnight soak, repeat this step. Extremely filthy items may require several soakings.
Step 2. Drain and refill container with water; add white vinegar (a splash or a cup, depending on container size); swish around and soak for 10-20 minutes.
Step 3. Drain and refill with lots of clear water; swish around and soak for 15 minutes. Done!
If stains remain, repeat entire process.
If there is rust, use rust remover on wet fabric, then repeat from Step 2.
If stains remain, lay wet/damp item outdoors in sunshine.
If stains remain, soak with laundry detergent and small amount of bleach. Or use a bleach pen on small stains. It is better to soak longer using very little bleach.
IMPORTANT!
DO NOT mix chemical treatments. Pre-rinse items that may have bleach or detergent residue with vinegar to neutralize the bleach and then rinse twice in clear water before trying another treatment. DO NOT bleach anything after using OxiClean or peroxide or any other chemical treatment. Your items may turn permanently blue, or worse Rinse really well before trying any other product.
Read More �6 Ways to Cut Down Energy Costs In The Summer�

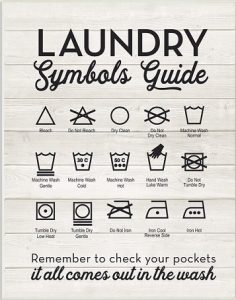


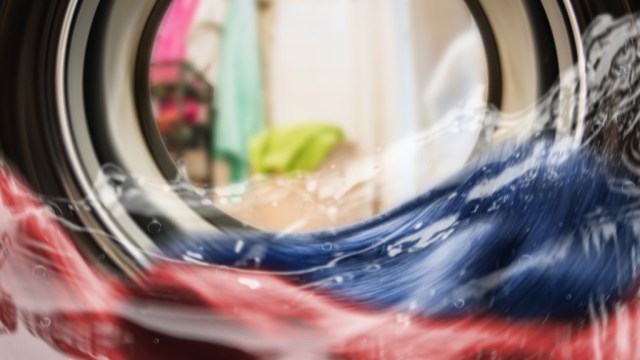
 (Do not machine wash)