The Importance of a Clean Laundry Basket
![]()
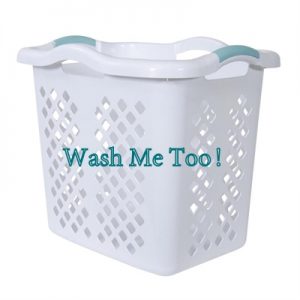
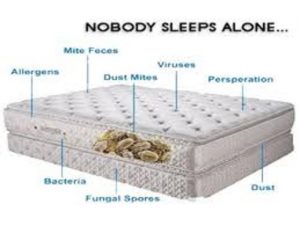
We see it all the time here at Sapulpa Laundry. You spend your hard earned money washing and drying your clothes, towels, sheets etc.. Then, without thinking, you place all of your clean belongings back in a dirty laundry basket. Dead skin cells, grime from your sweaty workout clothes, and whatever else hitches a ride on your clothes throughout the day, are all lurking in that laundry basket! Lets don’t forget to mention bacteria, including the dreaded staph bacteria also known as MRSA!
*Methicillin-resistant Staphylococcus aureus (MRSA) is a bacterium that causes infections in different parts of the body. It’s tougher to treat than most strains of staphylococcus aureus – or staph – because it’s resistant to some commonly used antibiotics.

What To Do:
Wash it. Give that basket a good washing with soap and hot water, or simply use an antibacterial wipe and wipe the basket down thoroughly before putting your clean laundry back in it. You can also use any hard surface disinfectant, but be watchful of anything with the potential to discolor (i.e. bleach). Make sure to dry the basket completely before putting your belongings back in it.
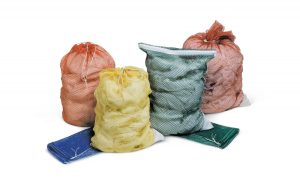
Bag it. Try using washable laundry bags. Wash the dirty bag along with the clothes. Once the bag is dried, place the clean clothes inside the bag to transport back home.
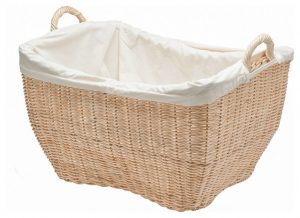
Line it. You can also use a disposable plastic laundry bag, clean trash bag, or a reusable cloth liner to line your laundry basket. Set your clothes inside the bag that lines the basket. Dispose of the plastic bag once you’ve put your belonging away and wash the cloth liner the next time you do laundry.
Read More �6 Ways to Cut Down Energy Costs In The Summer�