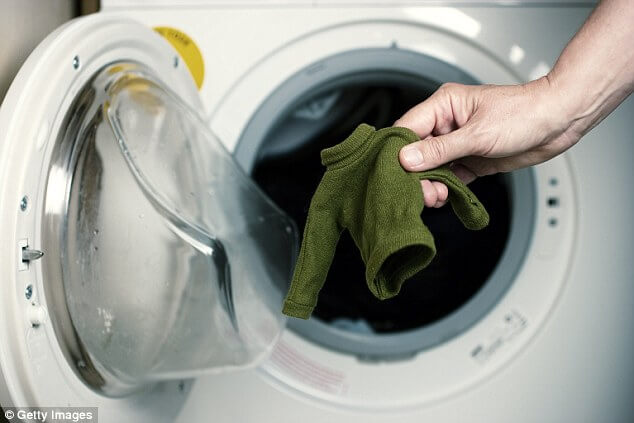
How to Unshrink Your Favorite Sweater

Step One: Soak

Fill a sink or bathtub with lukewarm water then add a cap of baby shampoo to the water.

Place the sweater into the sudsy water. Let it soak for a minute or two, then gently massage the item with your hands to help relax the fibers.

Remove the sweater from the water and gently squeeze it to remove some of the water. (But do not wring or rinse the sweater!)

Step Two: Absorb

Lay out a big, clean bath towel and lay the sweater flat on top of it.

Roll the towel up from one end so the sweater is wrapped inside. Press on the towel gently to absorb the excess water, then unroll the towel.

Step Three: Re-Shape

Grab another clean bath towel and lay the damp piece of clothing out on it.

Use your hands to gently stretch the item to its original size. Last, but not least, leave the sweater on the towel and allow it to air dry completely.

NOTE:  Do not rinse out the little bit of shampoo that is left in the garment after Step One.  This process doesn’t leave very much soap behind in the sweater, and the little soap that does remain helps  keep the fibers pliable during the stretching process.


Read More “6 Ways to Cut Down Energy Costs In The Summer”

OH NO! Shrunken Clothes!

Step One: Soak

Fill a sink or bathtub with lukewarm water then add a cap of baby shampoo to the water.

Place the garment into the sudsy water. Let it soak for a minute or two, then gently massage the item with your hands to help relax the fibers.

Remove the item from the water and gently squeeze it to remove some of the water. (But don’t wring the garment or rinse!)

Step Two: Absorb

Lay out a big, clean bath towel and lay the garment flat on top of it.

Roll the towel up from one end so the garment is wrapped inside. Press on the towel gently to absorb the excess water, then unroll the towel.

Step Three: Re-Shape

Grab another clean bath towel and lay the damp piece of clothing out on it.

Use your hands to gently stretch the item to its original size. Last, but not least, leave the clothing item on the towel and allow it to air dry completely.

NOTE:  Don’t rinse out the little bit of shampoo that is left in the garment after Step One.  This process doesn’t leave very much soap behind in the clothes, and the little soap that does remain helps  keep the fibers pliable during the stretching process.


Read More “6 Ways to Cut Down Energy Costs In The Summer”

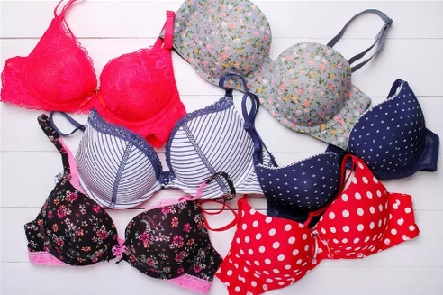
Brassiere Washing

Although bras don’t necessarily fall in the “wash after every use” category, like underwear and socks, they do require more maintenance than you might be currently giving them.

“Rule of Three”

They should be washed every three wears rather than every three days. It’s a good idea to have one to wash, one to wear and one to store and swap out.

The reason you should have multiple bras to swap out is because the fibers in the elastics don’t have a chance to rebound and go back to where they were. In a matter of days, you’ll find the back of your bra hiking, because those elastics have already stretched.

Washing

Ideally, bras should be hand washed in warm water, using a delicate detergent. Gently rub until it’s clean, make sure it’s thoroughly rinsed and hang or lay flat to dry.

If you’re rushed for time, use your machine on the gentle/delicate cycle  and use a gentle detergent. Be sure to secure the hook and eye because a lot of time that hook and eye can snag the lace or fabric.

Thankfully, newer washing machines, which don’t have agitators, are much gentler on bras. But even so, placing your bra in a lingerie bag before putting it in the machine is best. Lingerie bags prevent warping of underwire bras, fraying and excessive stress on the elastic waist.

Drying

Never put your bra in the dryer. Heat can cause your bra to shrink and that will impact the fit and comfort. A well-made bra should last up to five years if it is hand-washed and air-dried.

Read More “6 Ways to Cut Down Energy Costs In The Summer”
bottom Gears Mobile bottom Gears