Removing Make-Up Stains
Removing cosmetics from clothing can be a chore. Knowing the most efficient methods for removing makeup stains can save you a lot of time, money, and frustration.

First of all, know the type of  makeup you’re dealing with: non-oily or oily. Non-oily are powder products like eye shadows and blushes. Oily types are lipsticks, cream blushes, and other liquid makeup. Each type requires a specific method of removal. So…..determine if your makeup stain is non-oily or oily.

Second, you should attempt to remove the stain as quickly as possible to avoid letting them set into your garments. Fresh stains come out a lot easier than when they’re left.

Lipstick

Lipstick is oil-based, and should be treated with a pre-wash stain remover before attempting to wash it out. Never rub the stain, as it only causes the lipstick to go deeper into the fabric. We recommend blotting the stain with a clean white cloth, and rinse the stained material in warm water (you want to use a white cloth to avoid any fabric dyes from transferring to the stain).  If the stain persist, apply a good liquid household detergent to the stain, but don’t rub, blot.

Rubbing alcohol will also remove lipstick stains. Again, using a white cloth, dab the stain with a small amount of isopropyl alcohol, then add a small amount of household detergent and wash the garment per the label instructions.

Liquid Makeup

Removing liquid makeup stains can be a battle. Try using Dawn dish soap as a removal agent. Liquid makeup is oil based, and we all know Dawn helps cut through grease.  Then add a small amount of household detergent and wash the garment per the label instructions.

Powder Blush or Eye Shadows

The first thing when you have a powder spill is to try and blow it off the garment. Sometimes that will be enough to get most of it off before laundering per your normal routine. Once you’ve done that, remaining makeup can be wiped off using a damp washcloth and a tiny amount of liquid soap.

Tip:

Be sure to read the care label on any garments before attempting to remove the stain. You may find the garment is “dry clean only” or discover other specifications that will determine your choice of stain removal.

Read More “6 Ways to Cut Down Energy Costs In The Summer”

Helpful Tips To Cleaning Your Sneakers

Have you ever looked down at your white sneakers and been self-conscious?  If you have, then follow these easy to do steps and feel good about your white, almost new looking, shoes.

First of all, start with preventative care.  Grab a bottle of stain repellent at the shoe store, or anywhere they carry shoe supplies, and spray your shoes. Simply spray the repellent evenly on the surface of your shoes and let them dry overnight. Give your shoes a nice cleaning every few weeks to ensure they stay looking brand new.

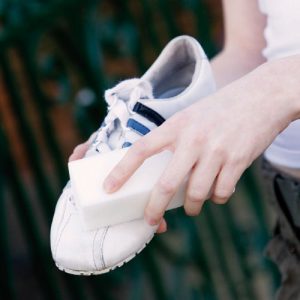
Next, clean the soles. When the soles or the rubber part on your favorite pair of shoes needs a good cleaning, give them a good scrub. Try this one spot-cleaning method that’s sure to work – and it’s probably not what you think. Pick up a Magic Eraser next time you’re in the store, because it will soon become your go-to for keeping your sneakers white. Simply wet the Magic Eraser with water, and rub your shoes in a circular motion to watch the eraser work its magic.

Last, but not least – don’t forget the shoelaces. Remove your shoelaces from your sneakers. Fill your sink with hot water and add a few dashes of your favorite laundry detergent. Massage the laces between your thumb and index finger. You can also use the detergent and a toothbrush to get a deep cleaning. Squeeze the laces in a towel or paper towel to get out excess water, then hang them to dry.

Specialty sneakers.  Sometimes sneakers have a different type of material that needs to be cleaned a little bit differently.

How to Clean:

White canvas sneakers: Combine baking soda with an equal amount of a mixture that’s half water and half hydrogen peroxide until it forms a paste. After making sure all excess dirt is brushed off your sneakers, apply the mixture. Let your shoes sit for a few hours until the mixture has hardened. Shake off the hardened mixture and use an old toothbrush or crumpled up paper towel to remove the excess paste. You’ll notice those sneakers are way whiter! If the sneakers are still damp or wet let them dry before wearing them.

White leather sneakers: It might sound too good to be true, but getting your favorite white leather sneakers looking good-as-new, is as easy as taking a toothbrush with your favorite white toothpaste to the surfaces of the shoe. Use warm water with the toothpaste. You can even add sugar to the toothpaste to create an exfoliate effect for any areas where dirt seems to be caked on. Wipe with a clean towel or paper towel. Again, if the sneakers are still damp or wet let them dry before wearing them.

Read More “6 Ways to Cut Down Energy Costs In The Summer”

The Importance of Washing Your Laundry Basket

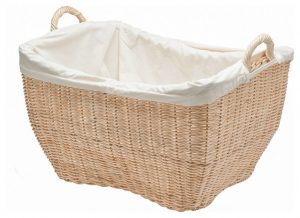
We see it all the time here at Sapulpa Laundry.  You spend your hard earned money washing and drying  your clothes, towels, sheets etc.. Then, without thinking, you place all of your clean belongings back in a dirty laundry basket.  Dead skin cells, grime from your sweaty workout clothes, and whatever else hitches a ride on your clothes throughout the day, are all lurking in that laundry basket!  Lets don’t forget to mention bacteria, including the dreaded staph bacteria also known as MRSA!

*Methicillin-resistant Staphylococcus aureus (MRSA) is a bacterium that causes infections in different parts of the body. It’s tougher to treat than most strains of staphylococcus aureus – or staph – because it’s resistant to some commonly used antibiotics.

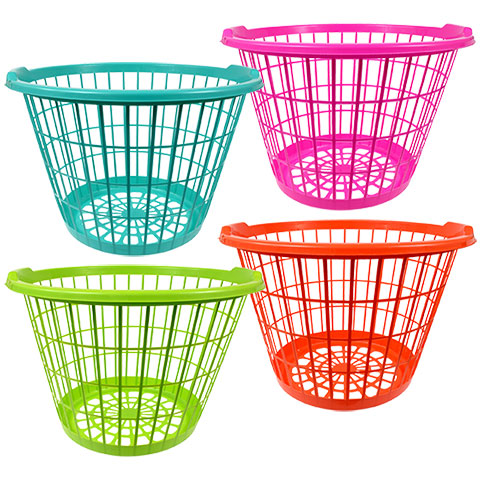
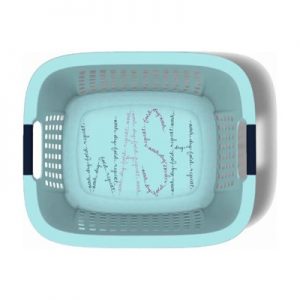
What To Do: Wash it. Give that basket a good washing with soap and hot water, or simply use an antibacterial wipe and wipe the basket down thoroughly before putting your clean laundry back in it. You can also use any hard surface disinfectant, but be watchful of anything with the potential to discolor (i.e. bleach).  Make sure to dry the basket completely before putting your belongings back in it.

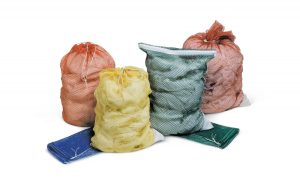
Bag it. Try using washable laundry bags. Wash the dirty bag along with the clothes. Once the bag is dried, place the clean clothes inside the bag to transport back home.

Line it. You can also use a disposable plastic laundry bag, clean trash bag, or a reusable cloth liner to line your laundry basket.  Set your clothes inside the bag that lines the basket.  Dispose of the plastic bag once you’ve put your belonging away and wash the cloth liner the next time you do laundry.


Read More “6 Ways to Cut Down Energy Costs In The Summer”

Caring for Denim

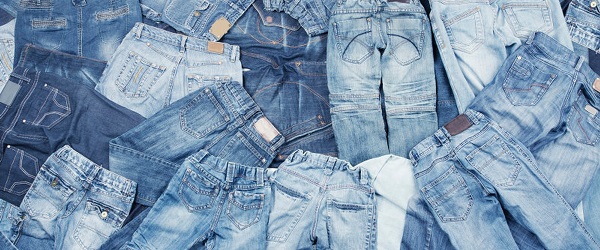
Chances are you bought those new jeans or that denim jacket because you liked the color and texture of the denim, right? Well, those new jeans and denim jackets have been dyed to get that color and rough-and-tumble look to last through multiple washing’s.

To keep jeans looking good, you’ll need to launder your denim carefully to keep the look you love.

1. Always wash new jeans separately.

Dark wash jeans should be washed separately the first time, and in a laundry detergent designed to keep their dark colors safe and intact. The dye in most jeans transfers readily during the laundry cycle, so it’s important to bathe them all by themselves.

2. Turn jeans inside-out before washing.

Washed jeans should be laundered inside-out in warm or cool water to prevent fading (unless you want fading, of course.) Keep both new and washed jeans away from laundry detergents with bleach for the same reason. This is one time you’ll want to use a basic laundry detergent without additives or boosters.

3. Avoid frequent tumble drying and dry cleaning.

Avoid frequent tumble-drying and dry cleaning. Heat may damages fibers, and dry cleaning may cause discoloration. When necessary, tumble dry while the dryer is cool and use the delicate setting.

To extend the lifespan of jeans, lay them flat to dry whenever possible instead of tossing them into the dryer.

4. Don’t spot clean jeans.

Don’t try to spot-clean denim. Instead, wash the entire pants so you don’t create a faded area where the spot or spill was.

5. If needed, iron jeans while damp.

This step is very easy and for those who like the crisp, pressed look. To put it simply – iron the denim while it’s still damp on the highest setting recommended for denim on your iron. Another option is to bring your jean in to us at Sapulpa Laundry. We will get your jeans crisp and pressed with a crease or not, and starched or not – however you prefer.

Read More “6 Ways to Cut Down Energy Costs In The Summer”
bottom Gears Mobile bottom Gears