Teaching Kids the Importance of Laundry

We believe it’s important to teach your kids how to help with their laundry.  It makes life a little easier on Mom, Dad, Grandma, other family members, and makes your kid’s responsible for their belongings. Here are some simple steps to get you started.

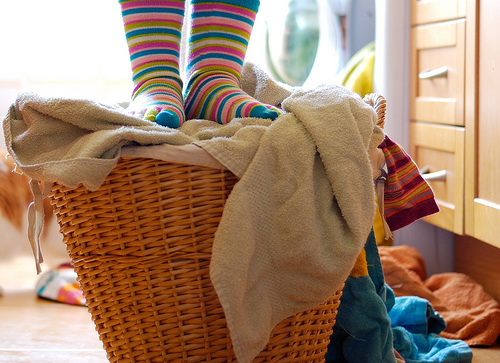
GIVE YOUR KIDS THEIR OWN LAUNDRY BASKET

You can find kid sized laundry baskets at Target, or Wal-Mart that are just the perfect size for one load of laundry.

The same basket can be used to carry laundry to the washing machine, carrying the clean laundry from the dryer to wherever it’s folded, and if needed, carrying the folded laundry to the dresser to be put away. Plastic baskets are easy to wipe out regularly and keep clean. When your kids get bigger and have bigger clothes, just upgrade them to a bigger basket.

The most important tip is reinforcing the habit of putting dirty clothes IN the basket, and then washing clothes when the basket gets full instead of continuing to heap clothes on top!

HAVE SET LAUNDRY DAYS

Depending on the number of kids you have, set one laundry day, give each kid their own day, or assign multiple kids per day.  Reinforce the laundry day habit by marking it on the calendar, adding it to your chore chart or maybe even an app on your phone! One week’s worth of laundry isn’t more than they can manage in one day, so it won’t be overwhelming to them.

TEACH YOUR KIDS TO DO THEIR OWN LAUNDRY

Teaching the kids to do their own laundry is probably the scariest part – but also the most liberating!

ADJUST FOR AGE

Grow your kids into these healthy laundry habits, start when they are young and eager to help and add responsibility as they grow.

Children from 2-5 can learn to put clothes in the hamper when they take them off, help load things into the washing machine, help switch over to the dryer (hand them to the child to put into the dryer), and can help put folded items in drawers.

Children from 5-7 can “fold” and put away their own clothes and load the washer and dryer with supervision at first and then increasing independence.

Children ages 8 and up can pretty much do their own laundry from start to finish. They can also assist younger siblings with the washer and dryer settings!

When my kids were little I realized that since we wash our clothes with cold water anyway, their clothes were small, and most of their wardrobe was the same color — all of their laundry could be washed together! If you want to bleach their socks or teach them to sort into lights and darks, you can do that, too, but I skipped it. Focus on checking pockets, setting aside items with stains or brand new items that haven’t been washed yet, the settings for the machines and soap, and checking the lint trap.  Observe at first and give them more freedom and independence as they get the hang of it.

TEACH YOUR KIDS TO FOLD (OR NOT)

Depending on their age, I believe the bigger goal is to have them get their clothes IN the dresser, get the drawers closed, and be able to find something to wear. I’ve learned that most kids aren’t concerned about folding but as they grow, they begin to fold their clothes on their own – especially when they see everyone else doing it. As kids grow, folding becomes more important if you want everything to fit in the drawers and not be a wrinkled mess.  At that point you will have to step in to teach them that folded clothes fit better, and look better.  They won’t like the idea of ironing!

“Important tip” here is to choose your battles, and focus on your main goal of teaching them to be responsible for their own laundry. The precision will come with time.

SOLVE YOUR SOCK ISSUES

Here’s another crazy idea – stop matching socks! Why stress yourself out? Solve your sock issues with three simple steps. First, buy all one kind of sock, and second, buy different brands (different colored toes, etc.) for each kid. They will have some other socks of course – maybe some church socks, maybe some Christmas socks but the bulk of their daily socks will be the same. Third step – skip the “folding” and assign a drawer or basket in a drawer for socks. It keeps all the socks together, and it skips the hassle of matching and folding.

All of these habits work together to create an easy laundry system your kids can help with. By having their own basket, they are responsible for their own laundry. By having laundry days and small baskets you are limiting the amount of laundry they have to wash at one time. By foregoing sorting, sock matching and folding, you’re preventing your children from becoming overwhelmed with the details of perfection and focusing instead on being responsible and the joy of independence.


Read More 6 Ways to Cut Down Energy Costs In The Summer

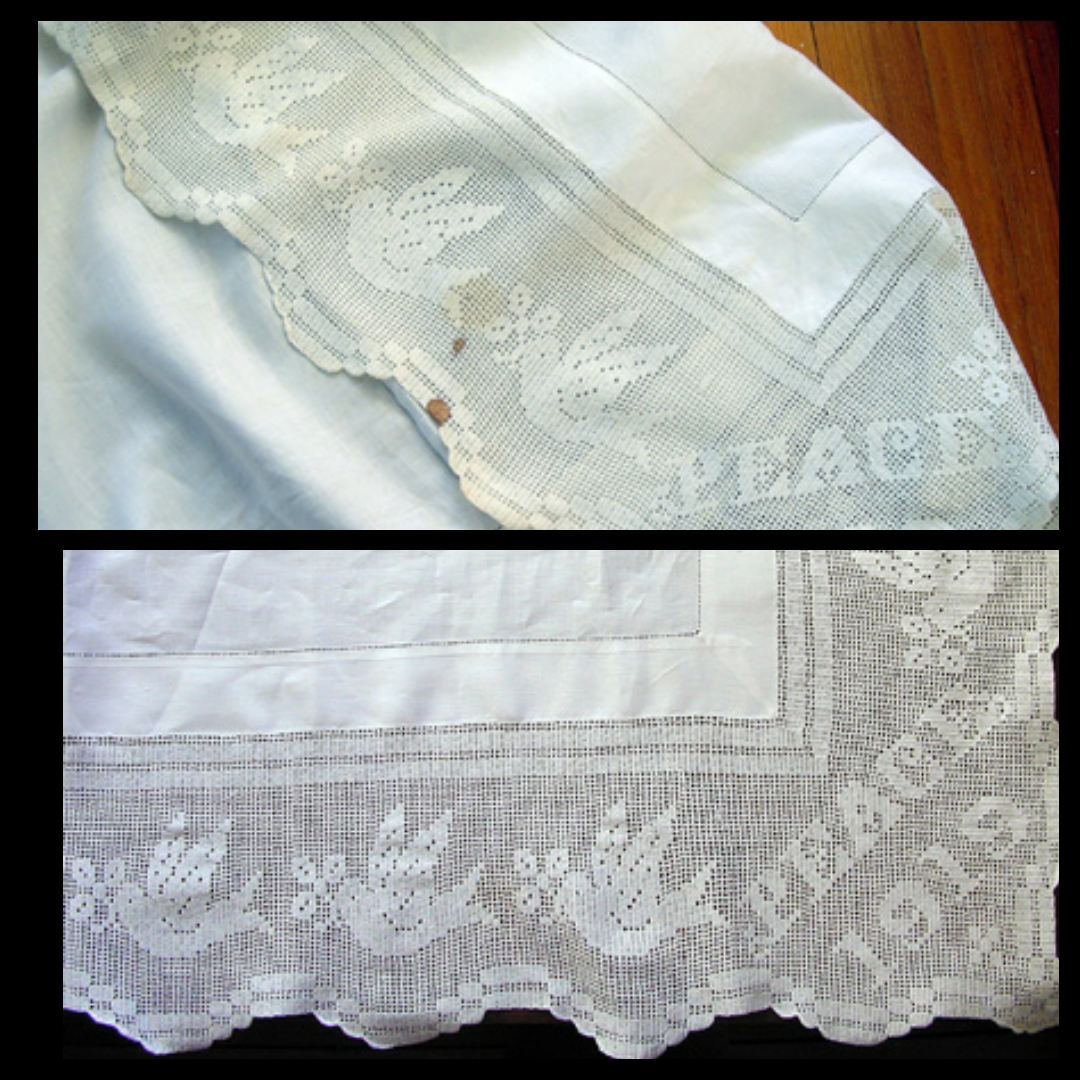
How to Wash Antique Linens

Some of us are fortunate enough to inherit a little piece of our family history. If we’re lucky, these items will be in good condition, but that’s not always the case. Some items may have dry rot, mouse nibbles and/or rust. You won’t be able to save these things if the fibers are already compromised. If you tug on two sides of a garment and it comes apart without much effort, your item has dry rot and has reached the end. Sometimes, you just have to let go, there’s no way to save it.

To start, here are a few items you should have on hand:
White Vinegar
Rust Remover
Restoration – (Oxyclean is similar, more widely available and slightly less expensive than Restoration, but it doesn’t work as well.)
Bleach pen
Laundry detergent (simple soap, nothing added)

***PLEASE NOTE THAT I DO NOT GUARANTEE ANY METHOD THAT YOU CHOOSE TO TRY. IT ALL DEPENDS ON THE CONDITION OF THE GARMENT.***

“Restoration” and white vinegar are preferred products. Read the label and use common sense. You may only need to use “Restoration” for your initial laundering to remove storage dirt. You can also use “Restoration” in the washing machine with your laundry, too. It removes odors, age spots, storage stains, label stains and often, some rust. If it doesn’t remove the rust, try using “Whink Rust & Stain Remover.” Be aware that if rust has already eaten away the fibers that you may be left with a hole where the rust had been after cleaning with rust/stain remover.

Use “Restoration” first and, if stains remain after two or three sessions with it, put the dampened piece outside in bright sunshine for a day. This is often a magical solution. Horrible stains will usually disappear within an hour. This is the least invasive method. It is effective and it’s free – it also sanitizes. However, sunlight does bleach and weaken fibers over time. Sunlight is destructive so I am not suggesting that you constantly subject your fragile items to sunlight. This method, used once or twice on a piece that would otherwise need to be thrown away, can be very helpful. If the stains persist, you may need to resort to using bleach with laundry detergent. I like to have a bleach pen on hand because it allows me to pinpoint where I apply the bleach. After using bleach, always rinse with white vinegar, then rinse again with clear water.

Step 1. Use hot water with “Restoration” until the water turns clear. (approx. 4- 6 hours or overnight) If the water is not clear after overnight soak, repeat this step. Extremely filthy items may require several soakings.

Step 2. Drain and refill container with water; add white vinegar (a splash or a cup, depending on container size); swish around and soak for 10-20 minutes.

Step 3. Drain and refill with lots of clear water; swish around and soak for 15 minutes. Done!

If stains remain, repeat entire process.
If there is rust, use rust remover on wet fabric, then repeat from Step 2.

If stains remain, lay wet/damp item outdoors in sunshine.

If stains remain, soak with laundry detergent and small amount of bleach. Or use a bleach pen on small stains. It is better to soak longer using very little bleach.

IMPORTANT!
DO NOT mix chemical treatments. Pre-rinse items that may have bleach or detergent residue with vinegar to neutralize the bleach and then rinse twice in clear water before trying another treatment. DO NOT bleach anything after using Oxyclean or peroxide or any other chemical treatment. Your items may turn permanently blue, or worse Rinse really well before trying any other product.


Read More 6 Ways to Cut Down Energy Costs In The Summer

How to Wash/Dry Microfiber Towels

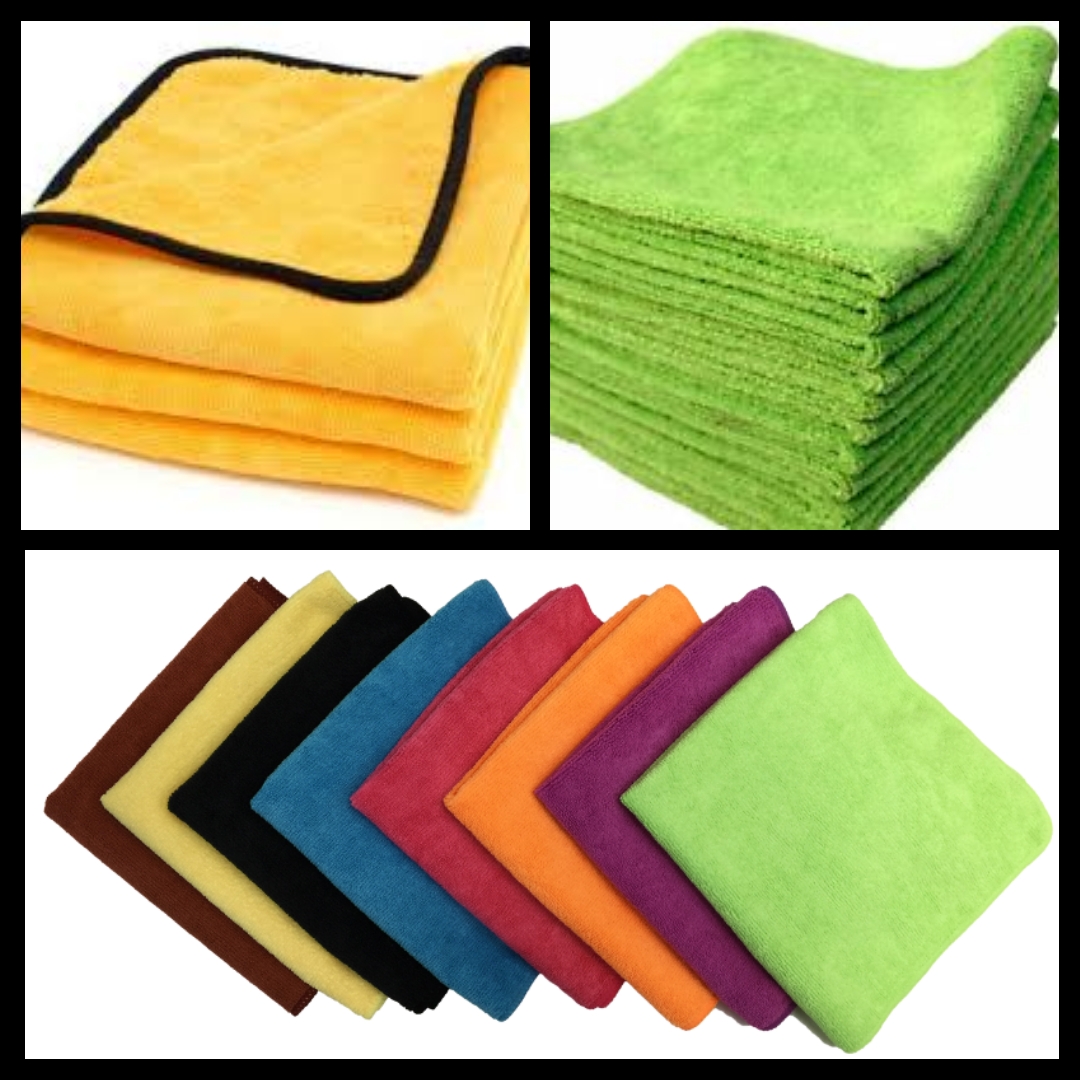
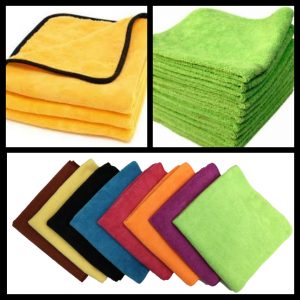
Washing and drying microfiber towels properly ensures towels will last longer, stay softer, and produce better results when trying to clean your windows, appliances, drying off your vehicle after washing, or using them for waxing your vehicle.

Step 1: Separate Your Towels

Before washing your microfiber, separate your towels into specific groups such as windows, appliances, vehicles, wheels, etc. Washing your towels in separate groups reduces the chance of cross-contamination during the washing process. If you wash your waxing towels and your window cleaning towels in the same load, wax residue can become embedded in the window towels and can cause streaks when cleaning glass, or appliances such as stainless steel.

Step 2: Use Proper Microfiber Wash

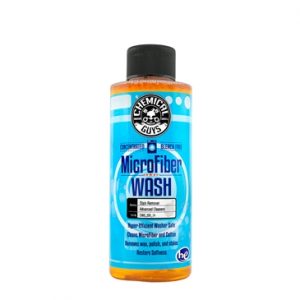
Choosing the correct microfiber wash solution is important to maintaining the condition of your microfiber. Using generic laundry detergent can reduce the life and performance of microfiber towels. We recommend only using a microfiber specific washing solution, such as Chemical Guys Microfiber Wash, to achieve the best results when washing your towels and microfiber goods. Microfiber Wash is designed to safely remove dirt and contamination from your microfiber without harming the material. Using generic laundry detergent can make microfiber feel stiff and rough. DO NOT USE FABRIC SOFTENER! Fabric softener clogs the fiber material and reduces microfiber performance. Fabric softener blocks liquids from being absorbed by the microfiber material.

Step 3: Use the Correct Wash Settings

Place your microfiber towels in the washing machine. Select “Hot” for the water temperature. Washing microfiber with hot water opens the fibers to release dirt and contamination. Add 1 oz. to 4 oz. (depending on load size) of Microfiber Wash to the machine. Press start and allow the machine to do the work.

Step 4: Drying the Microfiber

Now that the towels are washed, it’s time to dry. Machine drying is recommended to ensure the towels are clean, fluffy, and ready to detail. Place all your microfiber goods in the dryer, and set the temperature to “low”. Do not dry microfiber goods on high heat. Using high heat on microfiber can fry the polyester in the microfiber, causing the towel to feel stiff and hard. Towels that are dried on high heat can lead to scratches and swirls when used on cars, appliances or windows.

Step 5: Fold and Store

Once the towels are dry, properly fold and store them. Microfiber can easily hold dirt and dust. To ensure the towels stay clean, store the them in a clean cabinet, closet or container. Storing the towels properly can ensure that no dirt, dust, or debris lands on your towels.

Read More 6 Ways to Cut Down Energy Costs In The Summer

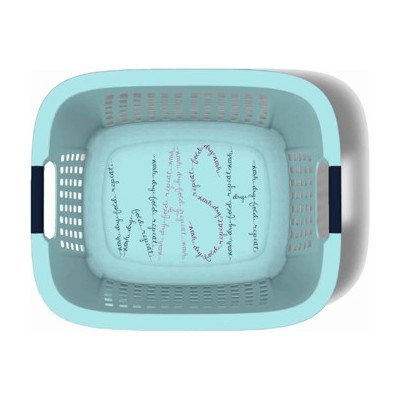
Importance of a Clean Laundry Basket

We see it all the time here at Sapulpa Laundry.  You spend your hard earned money washing and drying  your clothes, towels, sheets etc.. Then, without thinking, you place all of your clean belongings back in a dirty laundry basket.  Dead skin cells, grime from your sweaty workout clothes, and whatever else hitches a ride on your clothes throughout the day, are all lurking in that laundry basket!  Lets don’t forget to mention bacteria, including the dreaded staph bacteria also known as MRSA!

*Methicillin-resistant Staphylococcus aureus (MRSA) is a bacterium that causes infections in different parts of the body. It’s tougher to treat than most strains of staphylococcus aureus – or staph – because it’s resistant to some commonly used antibiotics.

What To Do: 

Wash it. Give that basket a good washing with soap and hot water, or simply use an antibacterial wipe and wipe the basket down thoroughly before putting your clean laundry back in it. You can also use any hard surface disinfectant, but be watchful of anything with the potential to discolor (i.e. bleach).  Make sure to dry the basket completely before putting your belongings back in it.

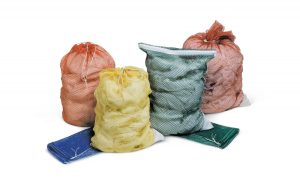
Bag it. Try using washable laundry bags. Wash the dirty bag along with the clothes. Once the bag is dried, place the clean clothes inside the bag to transport back home.

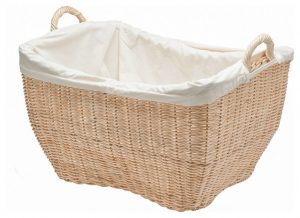
Line it. You can also use a disposable plastic laundry bag, clean trash bag, or a reusable cloth liner to line your laundry basket.  Set your clothes inside the bag that lines the basket.  Dispose of the plastic bag once you’ve put your belonging away and wash the cloth liner the next time you do laundry.


Read More 6 Ways to Cut Down Energy Costs In The Summer
bottom Gears Mobile bottom Gears