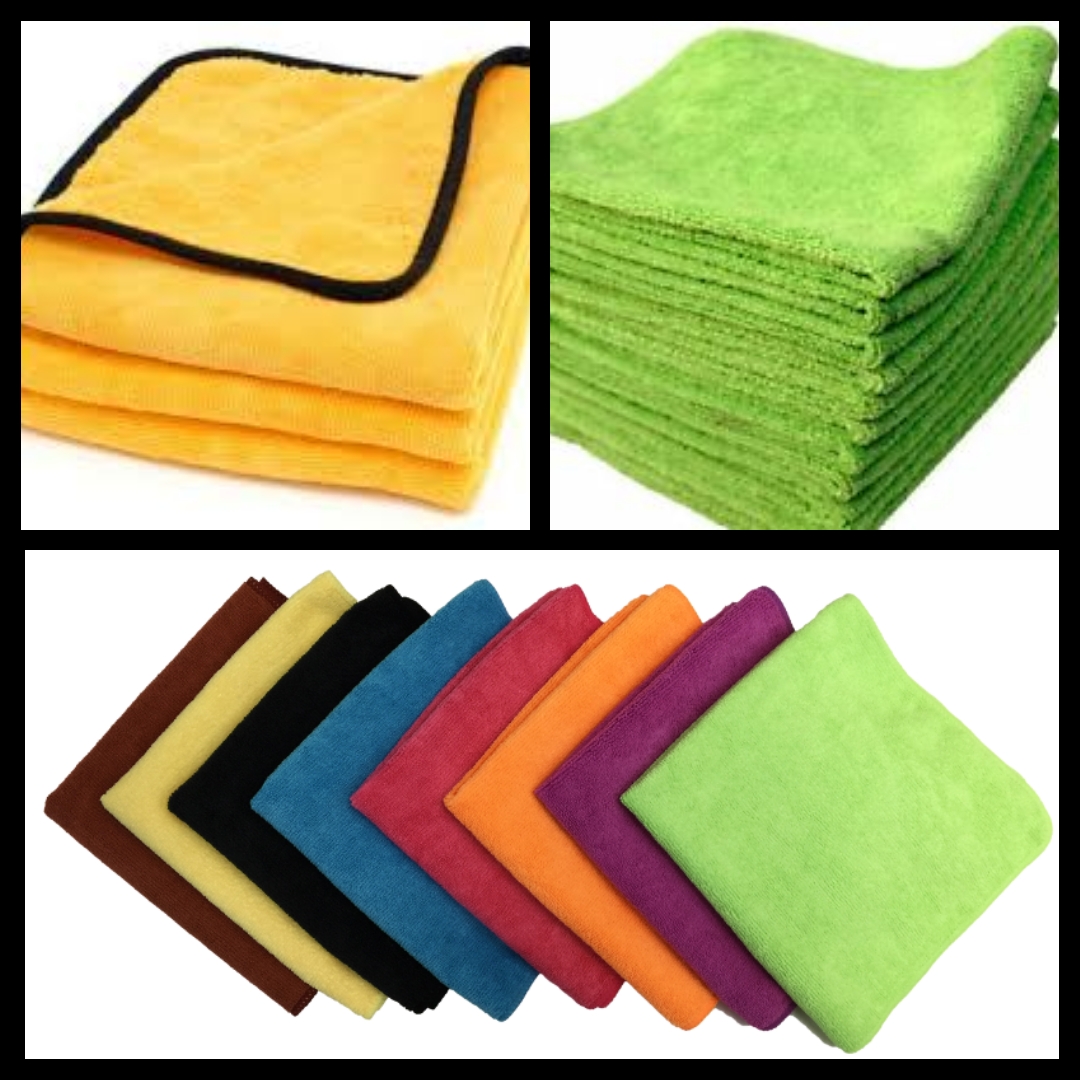
How to Wash/Dry Microfiber Towels
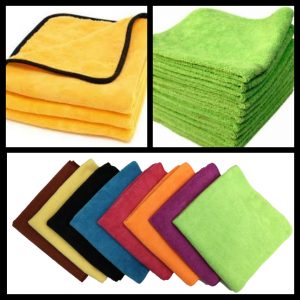
Washing and drying microfiber towels properly ensures towels will last longer, stay softer, and produce better results when trying to clean your windows, appliances, drying off your vehicle after washing, or using them for waxing your vehicle.

Step 1: Separate Your Towels

Before washing your microfiber, separate your towels into specific groups such as windows, appliances, vehicles, wheels, etc. Washing your towels in separate groups reduces the chance of cross-contamination during the washing process. If you wash your waxing towels and your window cleaning towels in the same load, wax residue can become embedded in the window towels and can cause streaks when cleaning glass, or appliances such as stainless steel.

Step 2: Use Proper Microfiber Wash
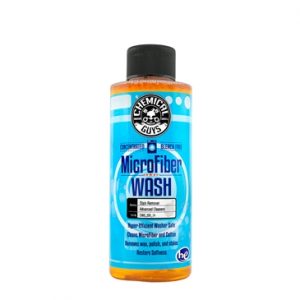
Choosing the correct microfiber wash solution is important to maintaining the condition of your microfiber. Using generic laundry detergent can reduce the life and performance of microfiber towels. We recommend only using a microfiber specific washing solution, such as Chemical Guys Microfiber Wash, to achieve the best results when washing your towels and microfiber goods. Microfiber Wash is designed to safely remove dirt and contamination from your microfiber without harming the material. Using generic laundry detergent can make microfiber feel stiff and rough. DO NOT USE FABRIC SOFTENER! Fabric softener clogs the fiber material and reduces microfiber performance. Fabric softener blocks liquids from being absorbed by the microfiber material.

Step 3: Use the Correct Wash Settings

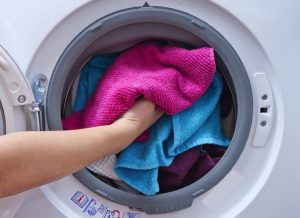
Place your microfiber towels in the washing machine. Select “Hot” for the water temperature. Washing microfiber with hot water opens the fibers to release dirt and contamination. Add 1 oz. to 4 oz. (depending on load size) of Microfiber Wash to the machine. Press start and allow the machine to do the work.

Step 4: Drying the Microfiber

Now that the towels are washed, it’s time to dry. Machine drying is recommended to ensure the towels are clean, fluffy, and ready to detail. Place all your microfiber goods in the dryer, and set the temperature to “low”. Do not dry microfiber goods on high heat. Using high heat on microfiber can fry the polyester in the microfiber, causing the towel to feel stiff and hard. Towels that are dried on high heat can lead to scratches and swirls when used on cars, appliances or windows.

Step 5: Fold and Store

Once the towels are dry, properly fold and store them. Microfiber can easily hold dirt and dust. To ensure the towels stay clean, store the them in a clean cabinet, closet or container. Storing the towels properly can ensure that no dirt, dust, or debris lands on your towels.

Read More 6 Ways to Cut Down Energy Costs In The Summer

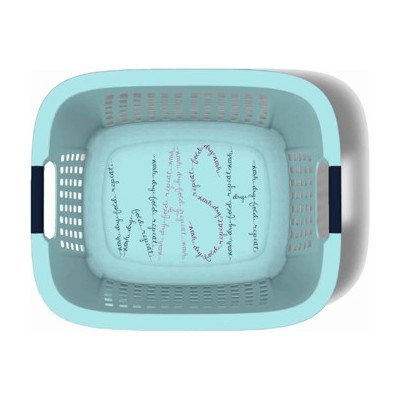
Importance of a Clean Laundry Basket

We see it all the time here at Sapulpa Laundry.  You spend your hard earned money washing and drying  your clothes, towels, sheets etc.. Then, without thinking, you place all of your clean belongings back in a dirty laundry basket.  Dead skin cells, grime from your sweaty workout clothes, and whatever else hitches a ride on your clothes throughout the day, are all lurking in that laundry basket!  Lets don’t forget to mention bacteria, including the dreaded staph bacteria also known as MRSA!

*Methicillin-resistant Staphylococcus aureus (MRSA) is a bacterium that causes infections in different parts of the body. It’s tougher to treat than most strains of staphylococcus aureus – or staph – because it’s resistant to some commonly used antibiotics.

What To Do: 

Wash it. Give that basket a good washing with soap and hot water, or simply use an antibacterial wipe and wipe the basket down thoroughly before putting your clean laundry back in it. You can also use any hard surface disinfectant, but be watchful of anything with the potential to discolor (i.e. bleach).  Make sure to dry the basket completely before putting your belongings back in it.

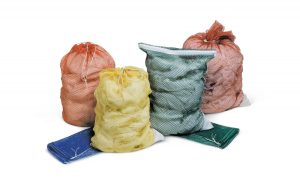
Bag it. Try using washable laundry bags. Wash the dirty bag along with the clothes. Once the bag is dried, place the clean clothes inside the bag to transport back home.

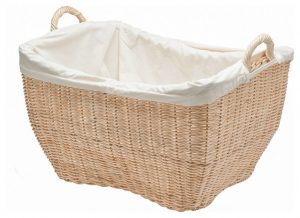
Line it. You can also use a disposable plastic laundry bag, clean trash bag, or a reusable cloth liner to line your laundry basket.  Set your clothes inside the bag that lines the basket.  Dispose of the plastic bag once you’ve put your belonging away and wash the cloth liner the next time you do laundry.


Read More 6 Ways to Cut Down Energy Costs In The Summer

Eight Ways to Fold Towels

Whether you like the spa look of rolled towels, or just neat stacks, these ideas are sure to please.

On a Hook

One of the easiest ways to display towels is to place them on a hook like a locker room.  The nice thing about this option is that anyone can hang a towel on a hook, including children so you don’t have to worry about perfectly folded towels.

Stacked

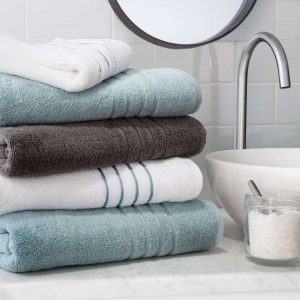
Folded and stacked towels are a great option. You can fold towels in half or thirds for your stacks and place on an open shelf for easy access.

Rolled

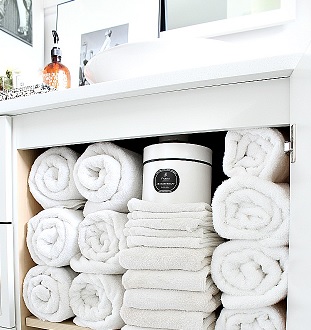
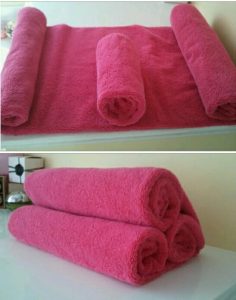
Roll your towels and place on a shelf if you like a spa look.  This is a great space saver and looks very decorative.  It’s super easy to roll your towels, so this is a great option for saving space while looking great.

Layer

Layer your towels for easy use.  This option is pretty self explanatory.  Simply fold your towels neatly and layer on top of each other over towel rack.  I like to layer a bath towel, hand towel and wash cloth.

Group with a Ribbon

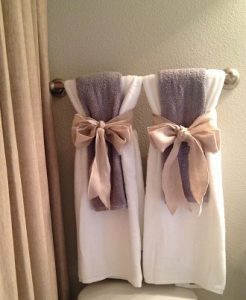
Group your towels with a ribbon for a chic look.  It’s also a great way of saying, “hands off” if you don’t want someone to use a particular set of towels.

Hang on Decorative Holders

Decorative holders are super great because they can be useful as well as decorative. You can even find towel holders that have a built in shelf.

Fold in Fun Shapes

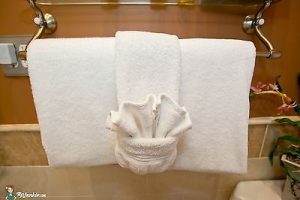
Fold your towels into fun shapes like a resort.  You can find lots of towel folding tutorials on-line from pretty shapes like fans, baskets and animals.

Decorative Decor

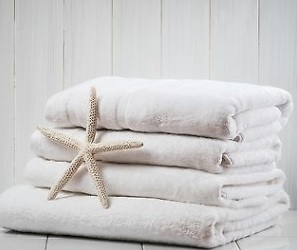
Add a touch of decorative decor to your towels by embellishing with elements from your decor.  This bathroom has a nautical theme so the starfish is the perfect piece of decorative decor.  It’s easy to add the shell to a simple stack of towels.

Read More 6 Ways to Cut Down Energy Costs In The Summer

How to Clean Stinky Mildew Towels


At some point most of us have used a towel, for whatever reason, and tossed it in to the dirty laundry and forgotten it was wet. A few days later and the smell will remind you! That smell is caused by mildew that sets in, and isn’t very easy to get rid of.  Washing your towels a few times on a normal setting may get rid of that stink, but if that isn’t enough to combat the mildew smell, I’ve found a way to get your towels back in shape and get that unpleasant smell out quickly. Here is how:

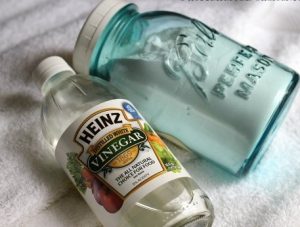
  1. Place your smelly towels in the washing machine and fill with the hottest water possible. Add in 2 cups of white vinegar and let them soak for at least 30 mins. Do not add any other products (detergent, softener etc.). This will allow the vinegar to penetrate the material without interference.
  2. Run a full cycle after your towels have soaked in the vinegar water. Leaving the towels in the washer repeat step 1, only this time use baking soda instead of vinegar. Run a full cycle once again.
  3. Dry the towels on hottest setting possible until they are fully dry

Your towels will smell like brand new!

Read More 6 Ways to Cut Down Energy Costs In The Summer

How to Clean Your Sneakers


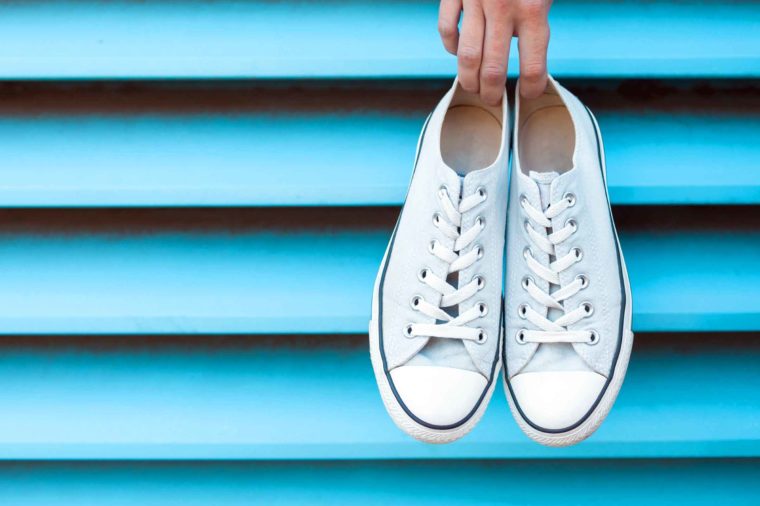
Have you ever looked down at your white sneakers and been self-conscious?  If you have, then follow these easy to do steps and feel good about your white, almost new looking, shoes.

First of all, start with preventative care.  Grab a bottle of stain repellent at the shoe store, or anywhere they carry shoe supplies, and spray your shoes. Simply spray the repellent evenly on the surface of your shoes and let them dry overnight. Give your shoes a nice cleaning every few weeks to ensure they stay looking brand new.

Next, clean the soles. When the soles or the rubber part on your favorite pair of shoes needs a good cleaning, give them a good scrub. Try this one spot-cleaning method that’s sure to work – and it’s probably not what you think. Pick up a Magic Eraser next time you’re in the store, because it will soon become your go-to for keeping your sneakers white. Simply wet the Magic Eraser with water, and rub your shoes in a circular motion to watch the eraser work its magic.

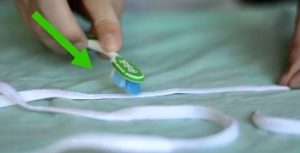
Last, but not least – don’t forget the shoelaces. Remove your shoelaces from your sneakers. Fill your sink with hot water and add a few dashes of your favorite laundry detergent. Massage the laces between your thumb and index finger. You can also use the detergent and a toothbrush to get a deep cleaning. Squeeze the laces in a towel or paper towel to get out excess water, then hang them to dry.

Specialty sneakers.  Sometimes sneakers have a different type of material that needs to be cleaned a little bit differently.

How to Clean:

White canvas sneakers: Combine baking soda with an equal amount of a mixture that’s half water and half hydrogen peroxide until it forms a paste. After making sure all excess dirt is brushed off your sneakers, apply the mixture. Let your shoes sit for a few hours until the mixture has hardened. Shake off the hardened mixture and use an old toothbrush or crumpled up paper towel to remove the excess paste. You’ll notice those sneakers are way whiter! If the sneakers are still damp or wet let them dry before wearing them.

White leather sneakers: It might sound too good to be true, but getting your favorite white leather sneakers looking good-as-new, is as easy as taking a toothbrush with your favorite white toothpaste to the surfaces of the shoe. Use warm water with the toothpaste. You can even add sugar to the toothpaste to create an exfoliate effect for any areas where dirt seems to be caked on. Wipe with a clean towel or paper towel. Again, if the sneakers are still damp or wet let them dry before wearing them.


Read More 6 Ways to Cut Down Energy Costs In The Summer

How To Wash Towels

Its important to know, you should always wash and dry bath towels before using them for the first time. Most towels have silicone or other finishes. Washing the towels removes these finishes and allows for maximum absorbency.
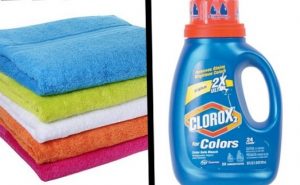
  • To set colors, wash colored towels with similar colors in warm water for the first several washings. Using about half the recommended amount of detergent, add 1/2 to 1 cup of white vinegar to the wash water. The vinegar helps set the colors and removes excess detergent residue.
  • Wash towels every three to four days. Use warm water and color-safe bleach (if needed) for colored towels. Use hot water and non-chlorine bleach (if needed) for white towels. White towels should be washed separately or with other white items to avoid subtle discoloration over time.

  • Wash bath towels separately from clothing for sanitary reasons.
  • Use fabric softeners according to directions, but use only every three or four washes. Waxy buildup from softeners can deteriorate the towel fibers over time and reduce their absorbency.
  • Give your towels a shake when taking them out of the washer. This will help fluff the terry loops that aid absorbency. Don’t iron terry towels; this will reduce absorbency.
  • Ensure that towels are dry when you remove them from the dryer. Even slightly damp towels can quickly mildew, but avoid over drying; it can ruin the individual cotton fibers.
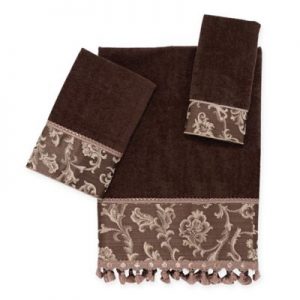
  • Many towels feature decorative trims. If possible, use towels with specialty trims as accents only, so you can limit their laundering and reduce the wear on ribbon, lace, or other decorative elements.

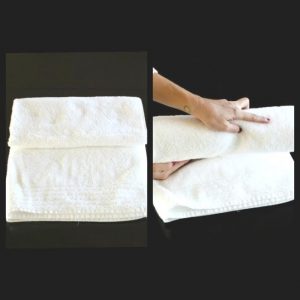
  • Fold bath towels and hand towels in thirds for best use of shelf space: Fold the towel in half, with open ends to the left, then fold in half again. Fold up the bottom third of the towel, then fold the top third down. When storing, face the outer edge of the towel to the front to make it easy to grab a single towel.

  • Linen hand towels for the bath can be safely ironed for a crisp finish. After ironing, fold linen towels in thirds like other towels.


Read More 6 Ways to Cut Down Energy Costs In The Summer

How to Clean a Mattress

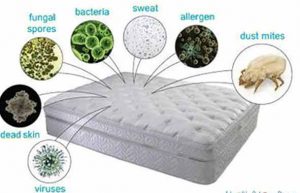
Dust, mold, mildew, body sweat, fungal spores, allergens – all make mattresses the ideal breeding ground for bacteria and dust mites.  If you’re as grossed out as I am by this, keep reading and learn how to clean your mattress for a better, cleaner sleep.

Vacuum It

Vacuum your mattress every month or so or as often as every time you change the sheets, if you or family members have severe allergies. Run the vacuum very slowly over the mattress, so it has time to inhale the dust and dust mites. Break out the crevice tool for the edges and crevices.

Treat Stains

Treat any stain immediately. The longer liquids sit in a mattress, the likelier you are to foster mold and mildew growth.

This may sound crazy, but use foaming shaving cream for mattress cleaning, in part because of its thickness. Liquids will soak right through a mattress, not allowing adequate time to dissolve the stain. Foaming shaving cream contains denatured alcohol, which is a stain remover, and it’s thick, so it sits on the surface to work on the stain. Wait 10 to 15 minutes, wipe with a damp cloth, and rinse with a 50/50 vinegar/water solution. Repeat if necessary.

Other helpful solutions for common mattress stains:

  • Blood: A 50/50 hydrogen peroxide/water solution.
  • Urine, fecal matter, or vomit: An enzyme cleaner, such as Bac-Out by BioClean, or Nature’s Miracle, available at pet stores.

Freshen Fast

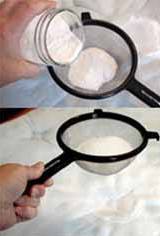
Use a mixture of cornstarch and baking soda to remove smells.  Place in a colander and just shake the mixture on to the mattress, let it sit for a few hours or longer, then vacuum. The cornstarch will absorb body oils, while the baking soda will work on smelly odors.

Sheet Strategy
Don’t put new sheets on until evening. This will allow the mattress to air all day discouraging dust mites and bacterial growth.

Pad It
Remember, mattress pads aren’t just for comfort. They keep your mattress cleaner, too.  Wash monthly in hot water, and machine dry thoroughly, unless the tag instructs otherwise.


Read More 6 Ways to Cut Down Energy Costs In The Summer

How to Wash and Dry Down-Filled Items

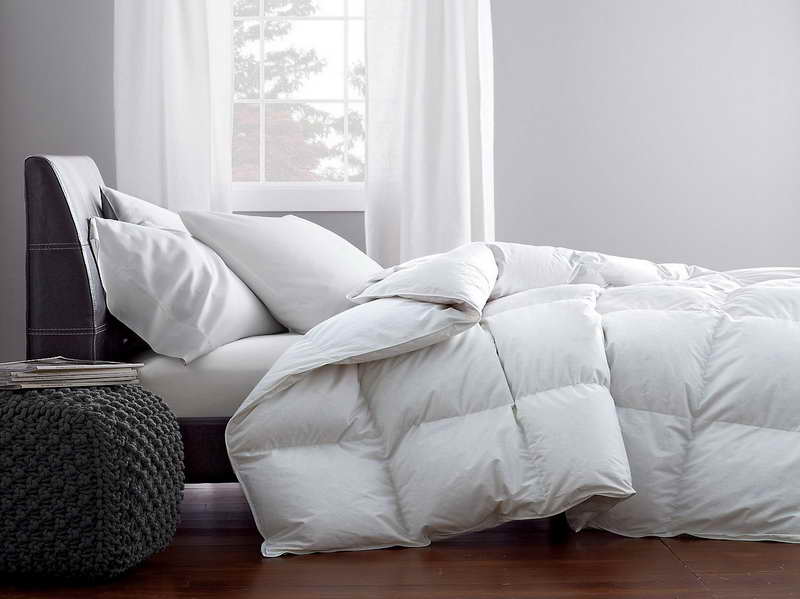
Manufacturers usually offer cleaning suggestions for their down items. Most recommend cleaning down items infrequently — typically every three to five years, but life happens and sometimes that’s just not sanitary. Try following these steps to get the best results when washing and drying down comforters and pillows.

Washing

Step 1

Check the comforter or pillow for worn stitching or holes, and repair with small fine stitches to avoid losing any down stuffing during the laundering process.  Most comforters are too big for your home washer. Instead, use the large capacity front-loading washing machines at your local Laundromat…specifically Sapulpa Laundry.

Step 2

Before laundering a down comforter or pillow, check for stains. Color-safe bleach can be used on stains caused by water or food, but blood or urine are best treated with an enzymatic cleaner such as Nature’s Miracle or Pure Green Kleen.  Pull the cover of the comforter or pillow away from the down while spot-treating stains to keep the cleaning product from damaging the down. Then launder.

Step 3

Put a sock stuffed with two tennis balls (secured with a knot) in the machine with the comforter or pillows. This addition will help keep the down from bunching and will agitate soil from the items being washed.

Step 4

Use a gentle or delicate-cycle setting and a minimal amount of mild laundry detergent. Choose lukewarm water; hot or cold water can be hard on the down. Use an extra rinse cycle to ensure all soap is rinsed from the down.

NOTE: Down bears a distinctive odor when wet. The odor will dissipate when the down dries.

Drying

Step 1

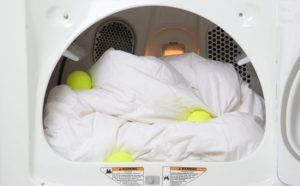
After the wash is complete, load your comforter or pillows into a dryer large enough to give the items plenty of room to fluff. Add a pair of clean tennis balls to help fluff the down and keep it evenly distributed.

Step 2

Run the dryer on air fluff or the lowest temperature possible. Stop the dryer periodically and break up any lumps that are forming in the comforter or pillow. Also ensure that the down is not getting too warm as extreme heat can scorch the down. Expect the drying process to take three to four hours.

Step 3

Make sure the down item is dry before taking it out of the dryer to avoid the formation of mildew. If the item is still slightly damp, hang it out on a clothesline or lay flat on a table with a fan blowing on it to get the down as dry as possible. Once you bring the comforter or pillow inside, leave the item out for another month to ensure all moisture has evaporated before storing.


Read More 6 Ways to Cut Down Energy Costs In The Summer

The Best Way To Clean Pillows

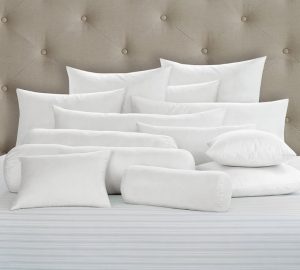
Oversized, bulky and awkward – sometimes it’s hard to know how to wash your pillows.  Just remember with all of the germs, kids, pets, and guests it’s important to remember to wash them.The best way, plain and simple; machine wash your pillows. Most down and synthetic pillows can be machine washed and dried on low heat, but check the label to be sure.

You’ll want to wash and dry at least two pillows at a time to keep your machine balanced, but take care not to stuff too many in at once. Pillows need plenty of water to get thoroughly clean, and plenty of space to get thoroughly dry. Just follow these simple steps and you’ll have clean, fluffy pillows.

NOTE: Foam pillows should not be washed! Sprinkling them with cornstarch, letting them sit for an hour or longer, then vacuuming thoroughly instead.

Detergent / Water Temperature

Make sure you use something that’s fragrance-free and will rinse clean.  Homemade laundry soap is always a good choice: 2 cups soap flakes and 1 cup each baking soda, washing soda, and borax. Water needs to be 140 degrees or higher to kill dust mites, so make sure your water heater isn’t set too low. It’s good to consider an extra spin cycle to squeeze out as much dampness as possible.

Drying

Make sure you dry pillows completely, even a little dampness could reintroduce the very mildew, bacteria, and dust mites you’re trying to avoid. Dry on low, checking them every 20 to 30 minutes to ensure even drying. For extra fluff, dry with dryer balls or a tennis ball in a sock.

Freshening Between Drying

Put your pillows in the dryer on “air fluff” every few months, to get rid of much of the dust.  If you can handle a little bit of the smell until it dissipates, you can include a vinegar-dampened washcloth, since vinegar is so good at killing mold and mildew.

Pillow Protectors

Removable pillow protectors buy you more time between full-on pillow cleaning.  Simply remove and machine-wash protectors in hot water once a month.


Read More 6 Ways to Cut Down Energy Costs In The Summer
bottom Gears Mobile bottom Gears